Thought Coders make Android Studio Installation easier!
Mobile Devices are portable and this makes mobile devices so popular and exponentially growing therefore, businesses also adopting mobile platforms for their application. Above all android is one of the popular and economical platforms for Mobile Applications. Android Studio is based on JetBrain’s Intellij Idea. This tutorial helps you to install Android Studio on your machine.
Android Studio is used for the following reasons:
Check here
- It has an amazing Visual Layout Editor therefore, you can quickly build layouts. Above all, it makes it easier to edit XML layout file
- Importantly it supports Gradle for dependency management between processes and systems. Secondly, it provides full support of visual design editor
- Fast and Smoothest Emulator
- APK analyzer, provides detailed reports of installed apps, therefore, making it easier to choose the best one
- Similarly, it provides Testing tools and Framework (Espresso)
- In other words, it is a Smart Code Editor (which support various languages, for instance, Kotlin, Java, and C++) moreover NDK support
- Lastly, it is easy to integrate with firebase, GCP, Google Cloud Messaging, etc.
Prerequisite
Java should be installed. After that, refer below for Java installation
How to check Java Installation
Open command prompt and type java –version
After that, it will show the installed Java version else you need to install it.

(In addition, if Java is not installed then refer step by step guide for Java Installation)
Step by Step guide to install Android Studio
Step i
Refer to the below link and download the Android Studio installer( .exe file)
https://developer.android.com/studio
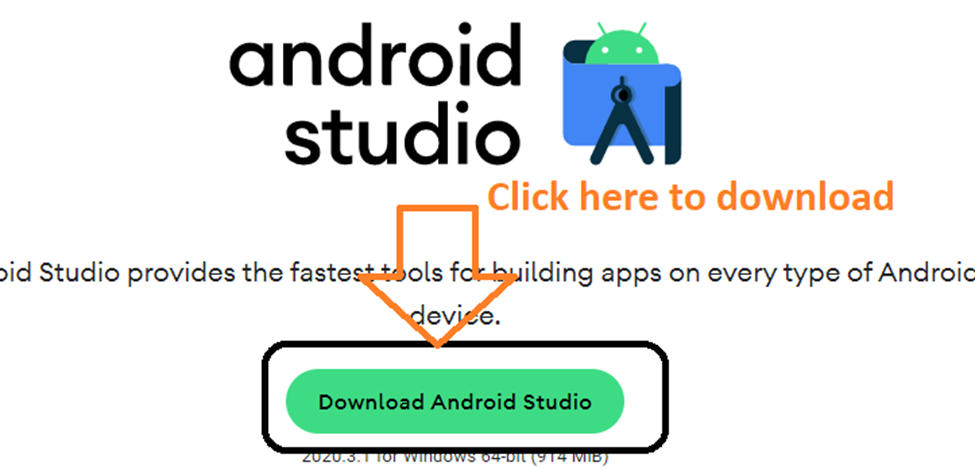
Step ii
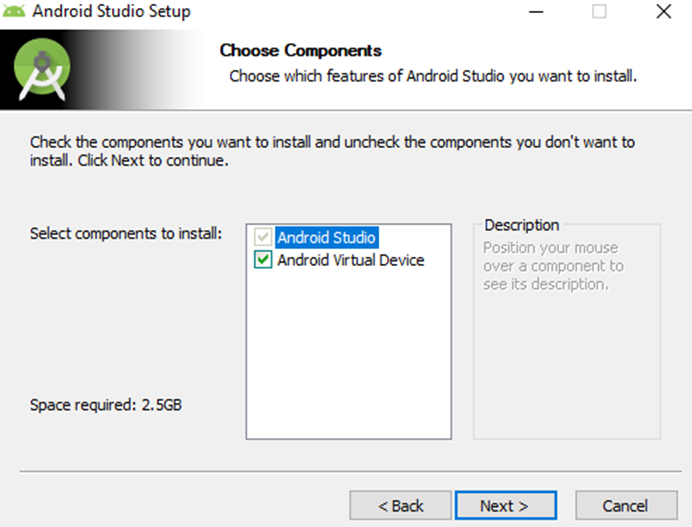
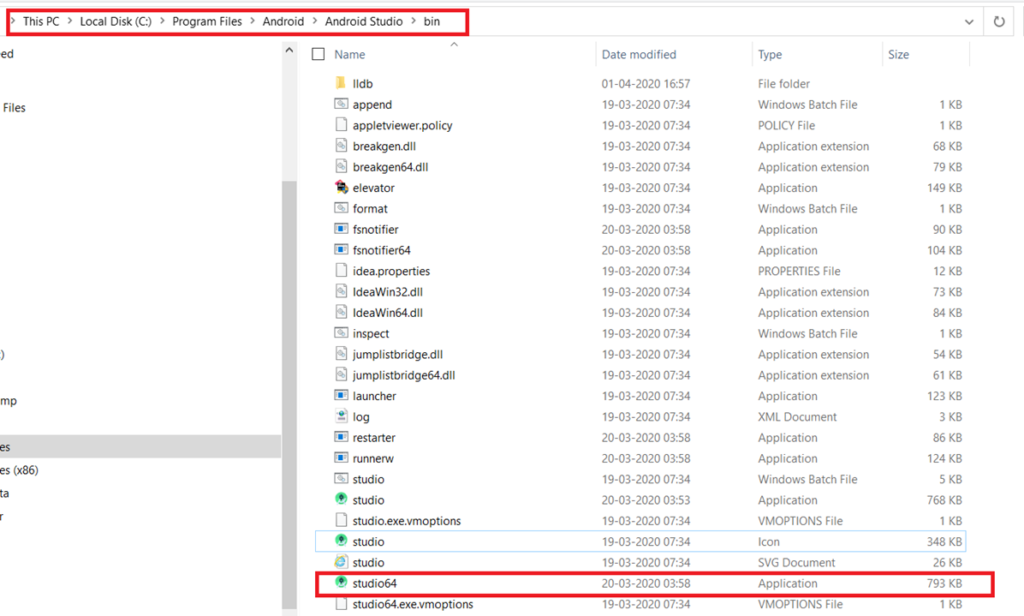
Once the Android Studio download is complete click on the setup file (android-studio-2020.3.1.25-windows.exe) and follow the installation setup wizard till the installation is complete.

Click on the Next button and Select Android Studio Components
Choose Configuration Settings:
Give Android Studio installation directory
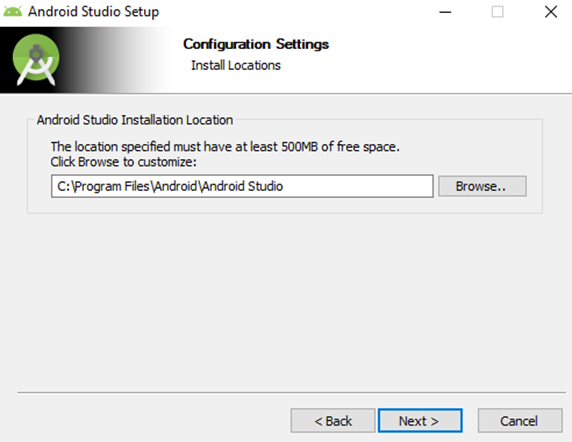
Once after selecting the installation directory, Android Studio Installation start

Click on the Finish Button therefore, your installation will be completed.

Step iii
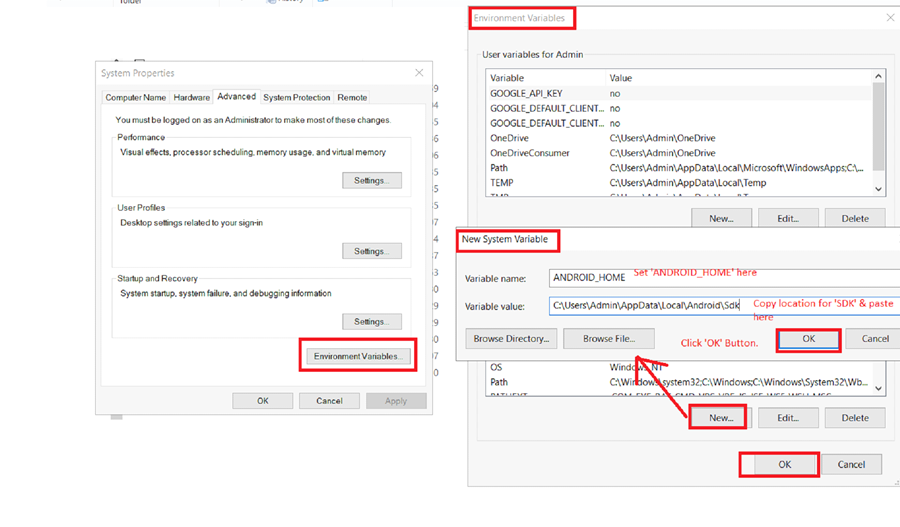
Set environment variables:
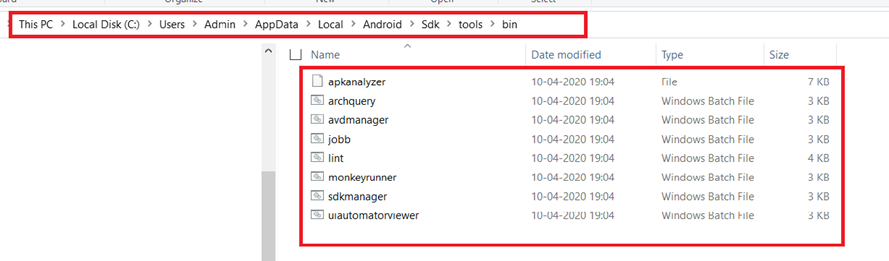
Android_Home Environmental variables path to SDK Location should be set and include bin folder path in Path variable.


Step iv:
Now, open Android Studio and configure the SDK in Android studio
Step v:
Once SDK is set up launch Android Studio and accept the license agreement.
C:\Users\user\AppData\Local\Android\Sdk\emulator
Step vi:
Click on the Radio button ‘Accept’ and then Next

Step vii:
Launch AVD Manager (Virtual Device): With help of AVD Manager, we can create a virtual emulator as per desired specifications and details
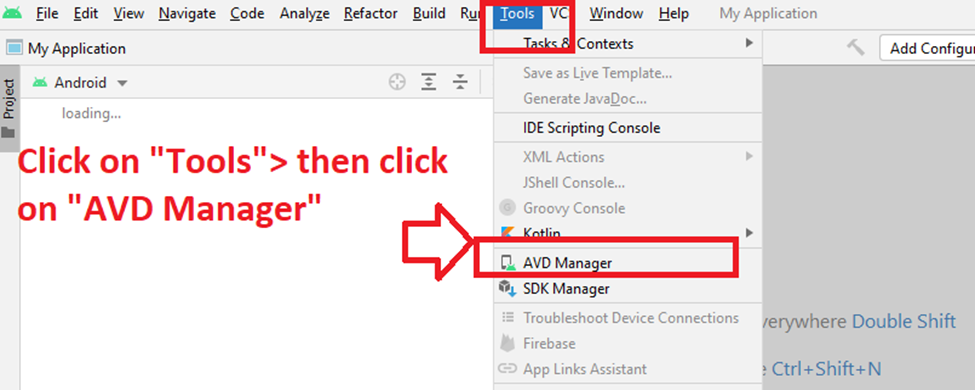
Now click on Create Virtual Device

And choose preferred emulator for testing:
Step viii:
Choose Hardware: Once AVD Manager launches, the Select Hardware window will pop up. You may choose desired Hardware from this window.

Wait till the download is complete. Once the download is complete then click on Next and complete the setup.

Step ix:
Choose Android Operating System Version: Once after completion of SDK installation a new window will open where you can choose Android Operating System.

Step x:
Give a name to your virtual AVD

Step xi:
Launch emulator now: Go to AVD Manager and you will find the virtual devices which are set up in previous steps. You can click on the Action Launch button.

Step xii:
Because you can open Emulator you can see whether it is working or not.

Step xiii:
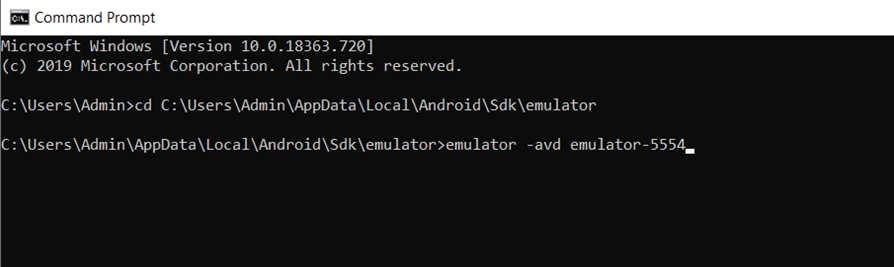
You can launch Emulator by command line as well for this, refer below command:
emulator -add emulator-5554
Hope this article helps you in Android Studio Installation, environment variable set up, and launch from the command line. In conclusion, feel free to contact us and write at info@thoughtcoders.com